
Preferred Setup for NVIDIA Jetson Nano
Recently I got my hands on Jetson Nano 2GB Developer Kit introduced by Nvidia in Oct 2020 as a successor to the original Jetson Nano Developer Kit with 4GB of RAM. Despite the difference in memory size, number of ports and power supply, the two kits almost offer the same performance using an identical 128-core NVIDIA Maxwell GPU.
See below for more detail:

Default Setup - USB Data Cable
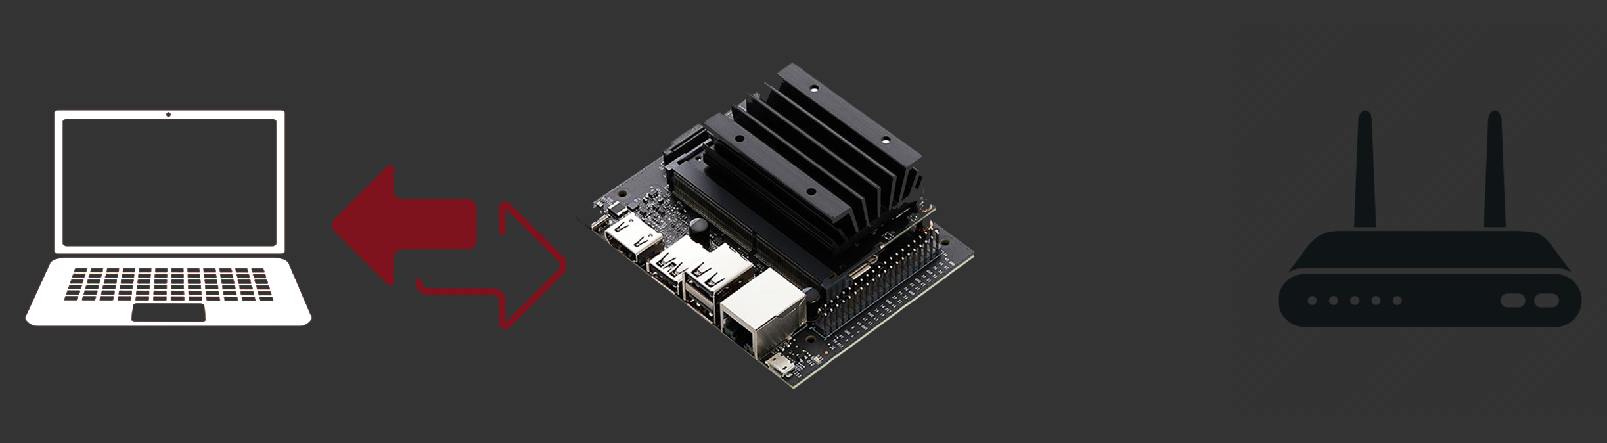
Nvidia offers a well-documented walkthrogh of writing an image and Setting up the required deeplearning packages for Jetson Nano through Getting Started with Jetson Nano Developer Kit and my intention is not to repeat those instructions. However, as shown in the diagram above, the default method for this setup is to connect Jetson nano to the machine (laptop) using a USB data cable. Since the setup image and connecting port is the same across all machines, all users can connect to the same port using the command line below:
$ ssh <username>@192.168.55.1
The above setup, although simplifies the setup, has a major downfall which is the requirement for the machine to be connected to Jetson nano whenever we need to connect to Jetson nano. This defies the whole purpose of having a portable machine.
Another well-known disadvantage, specially for Windows users, is the security concerns regarding Windows firewall which needs to be manually turned off in order to enable a USB connection to an external machine.
Proposed Setup - Ethernet
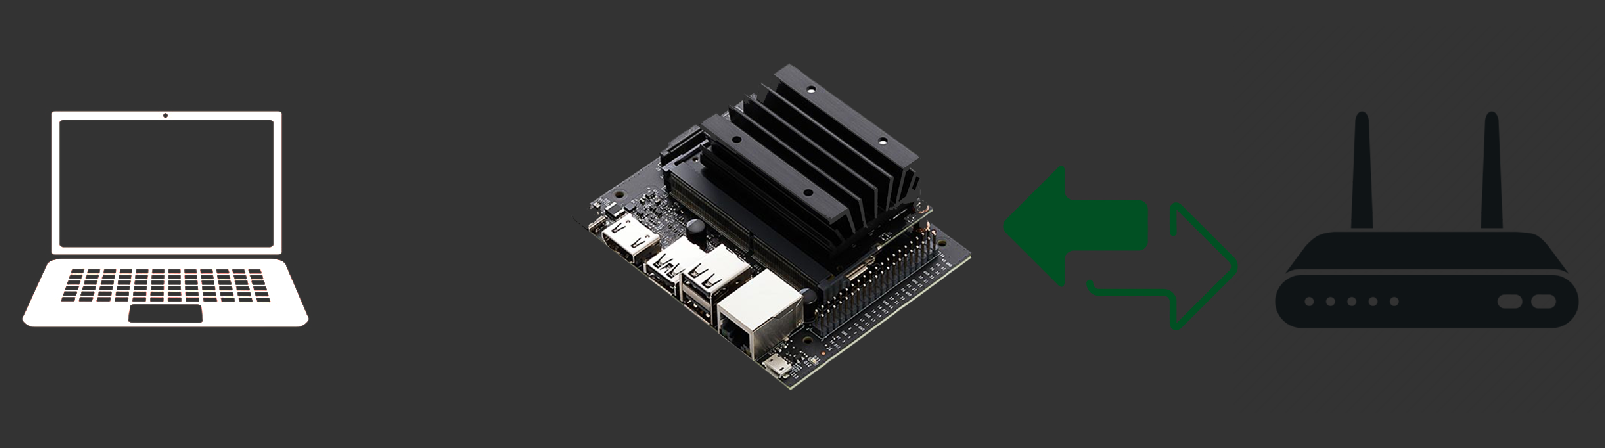
In order to solve the above disadvantage, and to provide the freedom of having a portable device, I suggest connecting Jetson nano to the modem directly using an ethernet cable and then remoting into jetson nano using local wifi connection. Before finalizing the setup through a headless connection, we will need to connect our monitor, keyboard and mouse directly to Jetson nano in order to get the ethernet IP. The below command on Linux will give all available IP’s for Jetson nano:
$ ifconfig
From the output of the above command we are looking for a section that starts with eth0. The second line in this section contains the ethernet IP followed by ether (having a pattern similar to ether xxx.xxx.x.xx).
Jetson nano 2GB has an advantage over Jetson nano which is having a USB wireless adapter included in the package. Using this, we could run the same commad as above after connecting Jetson Nano 2GB to the WiFi network. This time we will be looking for a section starting with
wlan0and an internet IP which follows byinet(having a pattern similar toinet xxx.xxx.x.xx). Using the WiFi adapter we don’t need the ethernet cable anymore. Even better!
The next steps are straight forward. After acquiring either of the above IP’s we will replace the <username> and <ethernet-IP> (or inet-IP in case of Jetson nano 2GB) with the Linux username and the IP acquired from the command above. After this, you will be prompted to enter your Linux password.
$ ssh <username>@<ethernet-IP>
Once remotely connected to Jetson Nano using the secure SSH connection, we will need a command line script to start Jupyter Lab on our remote machine. The next step is a one-time-only command to save the script to an executable shell file. We are adding a 4GB memory swap to compensate for the lower RAM in Jetson Nano 2GB. At the moment the latest version of dli-nano-ai image is v2.0.1-r32.6.1 and it is recommended that NVIDIA NGC cloud page is consulted for the latest image tag.
# create a reusable script
$ echo "sudo docker run --runtime nvidia -it --rm --network host \
    --memory=500M --memory-swap=4G \
    --volume ~/nvdli-data:/nvdli-nano/data \
    --volume /tmp/argus_socket:/tmp/argus_socket \
    --device /dev/video0 \
    nvcr.io/nvidia/dli/dli-nano-ai:v2.0.1-r32.6.1" > docker_dli_run.sh

# make the script executable
$ chmod +x docker_dli_run.sh
Once executed we could run the script below to fire up Jupyter Lab.
# run the script
$ ./docker_dli_run.sh
Further Improvement
Although the above setup provides much flexibility in regards to the remote access, it is limited to both machines (host and client) being on the same local network. This is enough for majority of the users, but we could further explore port forwarding in our router (modem) in case an access from outside of the local network area was required.